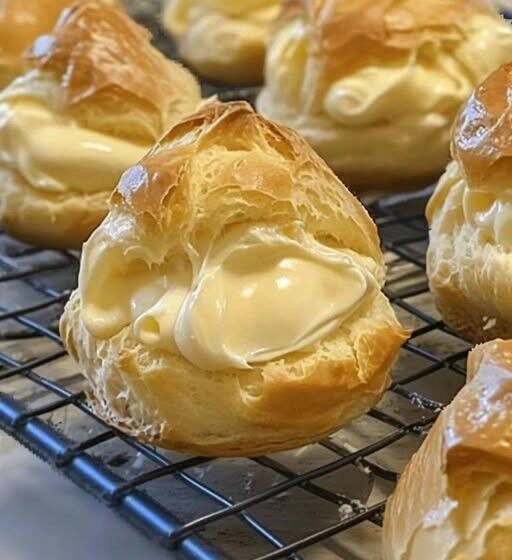
Custard-Filled Cream Puffs are a timeless dessert that feels elegant yet comforting at the same time. Light, airy pastry shells filled with smooth vanilla custard and finished with a delicate topping are proof that classic desserts never go out of style. Though they look bakery-fancy, cream puffs are made from simple pantry ingredients and a little patience.
This recipe walks you through every step in detail, so even if you’ve never made choux pastry or custard before, you’ll end up with beautiful, bakery-quality cream puffs at home.
Ingredients (Makes about 12–15 cream puffs)
For the Choux Pastry (Cream Puff Shells)
- 120 ml (½ cup) water
- 60 g (¼ cup) unsalted butter
- 1 tablespoon granulated sugar
- ¼ teaspoon salt
- 75 g (½ cup) all-purpose flour
- 2 large eggs, room temperature
For the Vanilla Custard Filling
- 480 ml (2 cups) whole milk
- 100 g (½ cup) granulated sugar
- 4 large egg yolks
- 30 g (¼ cup) cornstarch
- 30 g (2 tablespoons) unsalted butter
- 2 teaspoons vanilla extract
Optional Toppings
- Powdered sugar, for dusting
- Chocolate sauce or melted chocolate, for drizzling
Detailed Instructions
Step 1: Prepare the Custard Filling (Do This First)
In a medium saucepan, heat the milk over medium heat until it is hot but not boiling. You should see steam rising, but no bubbles.
In a separate bowl, whisk together the sugar, egg yolks, and cornstarch until smooth and pale.
Slowly pour about ½ cup of the hot milk into the egg mixture while whisking constantly. This tempers the eggs and prevents curdling. Gradually pour the egg mixture back into the saucepan with the remaining milk.
Cook over medium heat, whisking continuously, until the custard thickens and begins to bubble. This usually takes 3–5 minutes. Once thick, cook for an additional 30 seconds to remove any starchy taste.
Remove from heat and stir in the butter and vanilla extract until smooth. Transfer the custard to a bowl, press plastic wrap directly onto the surface to prevent a skin from forming, and refrigerate until completely cold (at least 1 hour).
Step 2: Make the Choux Pastry Dough
Preheat your oven to 200°C (400°F). Line a baking sheet with parchment paper.
In a saucepan, combine water, butter, sugar, and salt. Heat over medium until the butter melts and the mixture comes to a rolling boil.
Remove the pan from heat and add the flour all at once. Stir vigorously with a wooden spoon until a smooth dough forms and pulls away from the sides of the pan.
Return the pan to low heat and cook the dough for 1–2 minutes, stirring constantly. This dries the dough slightly and helps the cream puffs rise properly.
Transfer the dough to a mixing bowl and let it cool for 5 minutes.
Step 3: Add the Eggs
Add the eggs one at a time, beating well after each addition. The dough may look separated at first—keep mixing until it becomes smooth, thick, and glossy.
The finished dough should slowly fall from the spoon in a thick ribbon.
Step 4: Shape and Bake the Cream Puffs
Using a spoon or piping bag, scoop or pipe mounds of dough (about 2 tablespoons each) onto the prepared baking sheet, spacing them about 5 cm (2 inches) apart.
Bake in the preheated oven for 25–30 minutes, or until the cream puffs are puffed, golden brown, and firm to the touch.
Do not open the oven during baking, as this can cause them to collapse.
Once baked, turn off the oven, crack the door open slightly, and let the cream puffs cool inside for 10 minutes. Then transfer them to a wire rack to cool completely.
Step 5: Fill the Cream Puffs
Once the shells are fully cooled, cut each cream puff in half horizontally or poke a small hole in the bottom.
Transfer the chilled custard to a piping bag or spoon it carefully into each puff. Fill generously but avoid overfilling.
Replace the tops if sliced.
Step 6: Finish and Serve
Dust the tops lightly with powdered sugar or drizzle with chocolate sauce if desired.
Serve immediately, or refrigerate for up to 24 hours before serving.
Serving Suggestions
Custard-Filled Cream Puffs are perfect for:
- Dinner parties and special occasions
- Afternoon tea or coffee
- Holiday dessert trays
They pair beautifully with fresh fruit or a light fruit sauce on the side.