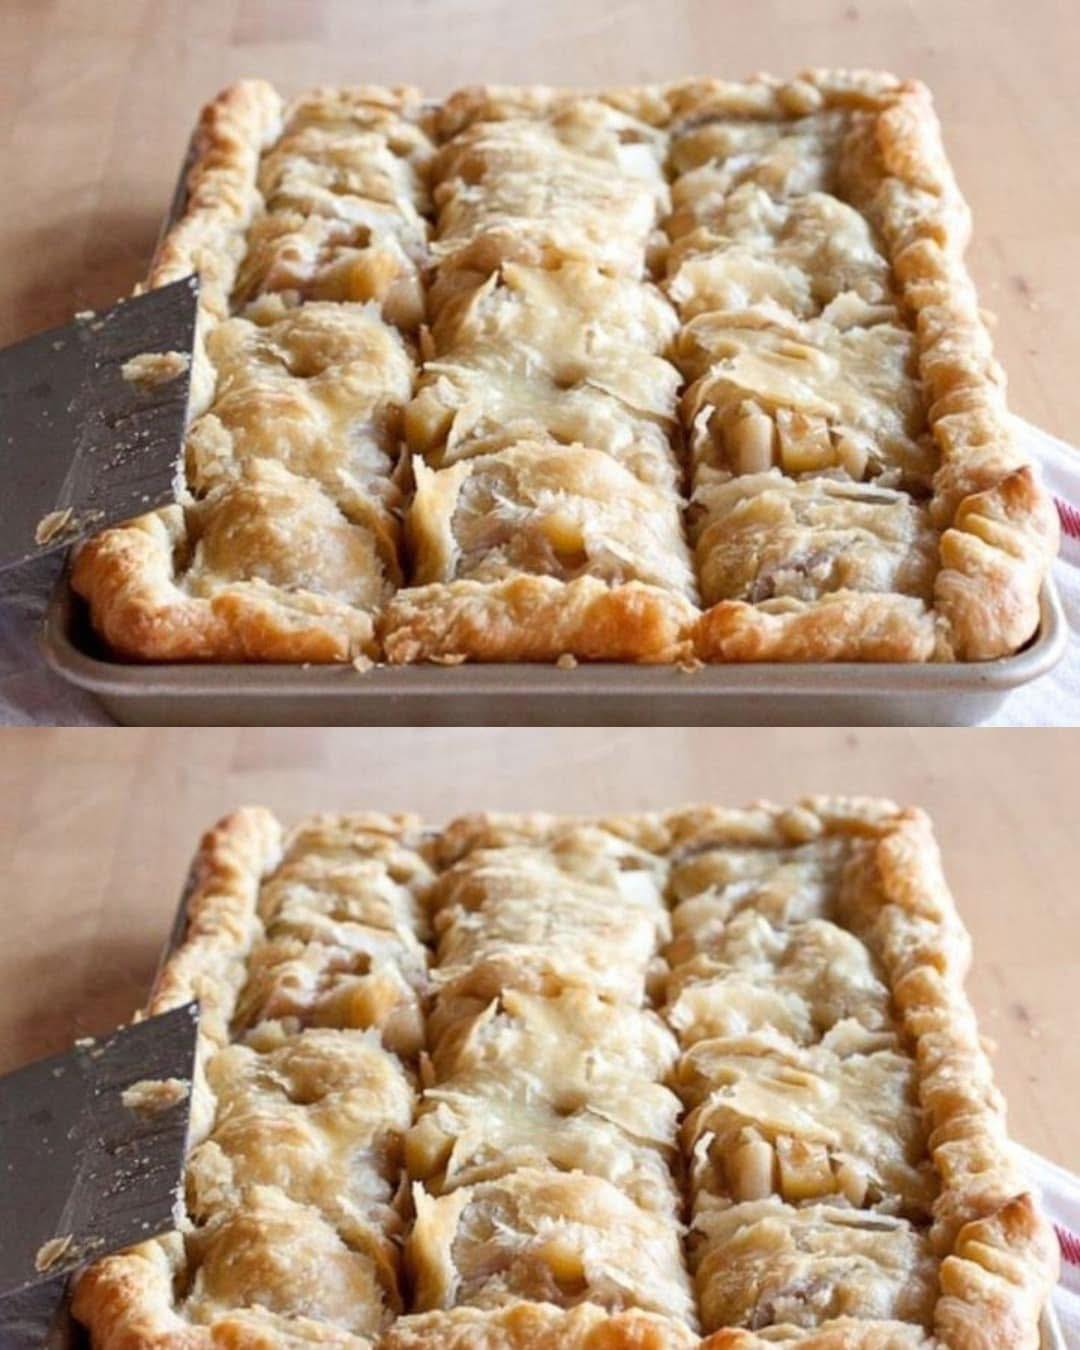
Apple Slab Pie (Detailed Instructions)
This apple slab pie delivers everything you love about traditional apple pie—tender apples, warm spices, and a flaky crust—but baked in a large rectangular pan so you can feed a crowd. It’s perfect for holidays, gatherings, or whenever you want a dessert that slices beautifully and serves easily.
Ingredients
Crust
- 1 double batch of your favorite pie crust (homemade or store-bought)
Filling
- 6 cups apples, peeled, cored, and thinly sliced (about 6 medium apples; a mix of sweet + tart is best)
- 3/4 cup granulated sugar (adjust to sweetness of apples)
- 2 tablespoons all-purpose flour
- 1 teaspoon ground cinnamon
- 1/4 teaspoon ground nutmeg
- 1/8 teaspoon salt
- 1 tablespoon lemon juice (optional, for brightness and to prevent browning)
Assembly
- 1 egg yolk
- 1 tablespoon water
- Coarse sugar or turbinado sugar (optional, for sprinkling)
Instructions (Very Detailed)
1. Prepare the apples
Peel each apple completely using a vegetable peeler or paring knife.
Cut the apples into quarters, remove the cores, and slice them into thin, even slices (about 1/4 inch thick).
Place all slices into a large mixing bowl.
If using lemon juice, drizzle it over the apples and toss lightly to coat—this helps keep the apples from browning and adds a touch of acidity to balance the sweetness.
2. Make the filling
Add the sugar, flour, cinnamon, nutmeg, and salt directly to the bowl of apples.
Using clean hands or a large spoon, gently toss the apples until every slice is evenly coated.
You should see no dry sugar at the bottom of the bowl and the apples should look slightly glossy.
Set aside so the apples can release a bit of juice while you prepare the crust.
3. Preheat the oven and prepare the baking sheet
Preheat your oven to 400°F (200°C).
Line a large baking sheet (about 13×18 inches) with parchment paper, making sure the paper goes all the way to the edges so clean-up is easy and nothing sticks.
4. Roll out the bottom crust
Lightly flour your work surface.
Place one portion of the pie dough onto the surface and roll it into a rectangle about 1/8 inch thick—slightly larger than your baking sheet so it hangs over the edges.
Use your rolling pin to help lift the dough: gently roll it around the pin, transfer it over the baking sheet, and unroll it onto the parchment.
Gently press the crust so it lays flat and reaches the corners.
5. Add the apple filling
Pour the coated apples onto the center of the bottom crust.
Spread them out into an even layer using your hands or a spatula.
Leave a border of about 1–2 inches around all edges so you have room to fold or seal later.
Make sure the apples are distributed evenly so every slice gets a good mix of fruit.
6. Create a rustic frame (optional)
If you want a rustic edge: fold the exposed edges of the bottom crust inward and over the apple filling, forming a simple raised border.
If you prefer a fully sealed pie: leave the edges flat—this will be sealed with the top crust later.
7. Roll out the top crust
Roll out the second portion of pie dough into another large rectangle, slightly bigger than the first.
Aim again for about 1/8 inch thickness so the top crust bakes evenly.
8. Place the top crust
Carefully lift the rolled-out crust using your rolling pin technique and place it gently over the apple filling.
Adjust it so it fully covers the apples and reaches the edges.
9. Seal the edges
Press the edges of the top crust against the bottom crust.
Use your fingers or a fork to crimp and seal all around the border.
This prevents fruit juice from leaking out during baking.
10. Vent the pie
Using a sharp knife, cut 5–8 slits across the top crust.
Make them about 1 inch long.
This allows steam to escape so the crust stays flaky instead of puffing up.
11. Prepare the egg wash
In a small bowl, whisk together the egg yolk and 1 tablespoon of water until smooth.
Brush the egg wash generously over the entire surface of the top crust—this gives the pie a deep golden color.
If you like, sprinkle coarse sugar or turbinado sugar evenly across the top for crunch and sparkle.
12. Bake the pie
Place the baking sheet into the preheated oven.
Bake for 25–30 minutes.
The pie is done when the top crust is a deep golden brown and the filling is bubbling through the vents.
If the edges start to brown too quickly, lightly cover them with strips of aluminum foil to prevent burning.
13. Cool the pie
Remove the pan from the oven and let the slab pie cool directly on the baking sheet for at least 30 minutes.
Cooling helps the filling thicken and set, making it much easier to slice cleanly.
14. Slice and serve
Use a large knife or bench scraper to cut the pie into squares or rectangles.
Serve warm, room temperature, or chilled.
It pairs beautifully with vanilla ice cream, whipped cream, or a drizzle of caramel sauce.